It's all about the hops!
Ever wondered why they call a hop plant a bine and not a vine? Well in this HopsWiki we hope to demystify that and some of the other preconceptions people have about the hop plant, as well as giving tips on how best to grow and care for them!
What are hops?
Humulus lupulus (which means ‘wolf of the woods’) is the Latin name for the hop. It is a tall climbing plant and is “dioecious”, which means that male and female plants are separate. It is the female plant which bears the hop cones required in brewing beer.
Hop plants can be expected to remain productive for 10-20 years, depending on the variety. They can have a root depth of almost 4 meters and can grow as high as 5 meters. Hop plants typically start to flower mid to late July, which is when the cones start to develop. The cones consist of multiple layers of petals where the lupulin glands form and they look like large yellow pollen grains.
Hop plants die back to ground level each winter, but as they come back every spring they’re classed as a perennial. Also, because they have no woody stems above ground they’re also classed as a herbaceous plant. Therefore, a hop plant is called a ’herbaceous perennial’.
Bine or Vine?
The difference in a bining and a vining plant is determined by taking into consideration how they grow. A vine (eg grape) climbs using tendrils to latch on to things, gripping as it goes, whereas a bine grows by wrapping its stem around a supporting structure in a corkscrew or helix shape. If you grow runner beans you will already be familiar with this growth habit!
Each year a hop plant will produce brand new stems or bines. Each bine has hairs growing backwards from the tip which help it to grip and provide structure as it wraps and twines itself up and around any support - it is these coarse hairs which scratch your bare skin.
Getting Started **
Notice to pet owners: ****
Hops can be toxic to dogs and cats and can cause a reaction called ‘Malignant hyperthermia’ which their body temperature rises rapidly. It's crucial for growers to take all necessary precautions to prevent accidental pet exposure or poisoning. You should speak to your vet urgently if your pet ingests hops. More here
Location:
Hops ideally produce best the further south you are, so in Bristol, we are fairly lucky. Hops need around 6-8 hours of sun a day, so a south-facing aspect and direct sunlight is ideal, just try to keep heat off the roots.
Soil & Planting:
Hops ideally should be planted in spring, late enough to avoid a frost. Hops prefer loose,
non-compacted, easy draining,
slightly acidic and highly nutritious soil.
That being said a soil with a PH of 6.2-6.8 works well
for most hop varieties.
How to test soil PH
Preperations for planting
Some people skip this step, but having good drainage is key to having healthy plants, so begin by filling the biggest pot you have about 1"-2" with gravel. Then fill the pot with good quality compost mixed with top soil.

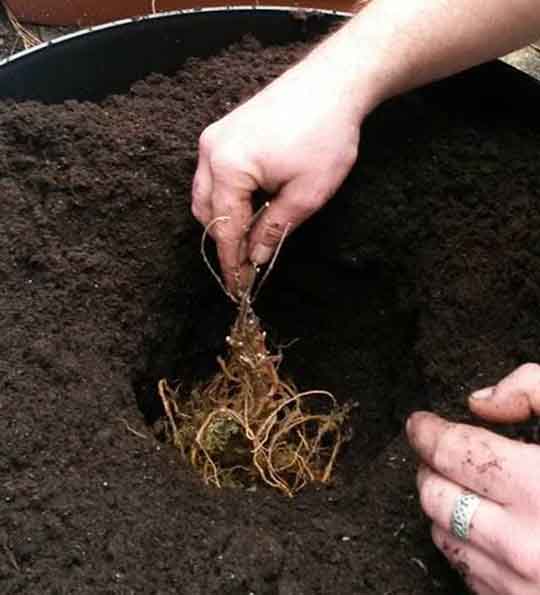
Planting:
Hops grow best planted directly in the ground, but they also grow well in a pot as big as possible (minimum of 40 litre volume, and at least 30 cm deep)
you want to then create a 3” trench to put the
rhizome in so just the crown is above the mulch level.
Note: If growing hops in the ground it tend to spread sideways much like garden mint, so it is an idea to sink a big bottomless pot in the
ground around the rhizome to
stop it from spreading so it can put effort in to growing up rather than across.
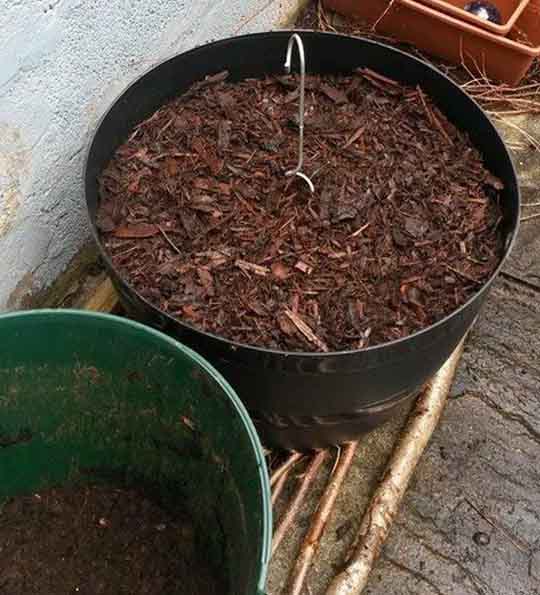
Mulching:
Pack the soil lightly around the rhizome to ensure there is plenty of air and then cover with mulch or straw. This helps to keep the rhizome cool, prevents water loss and suppresses weeds.
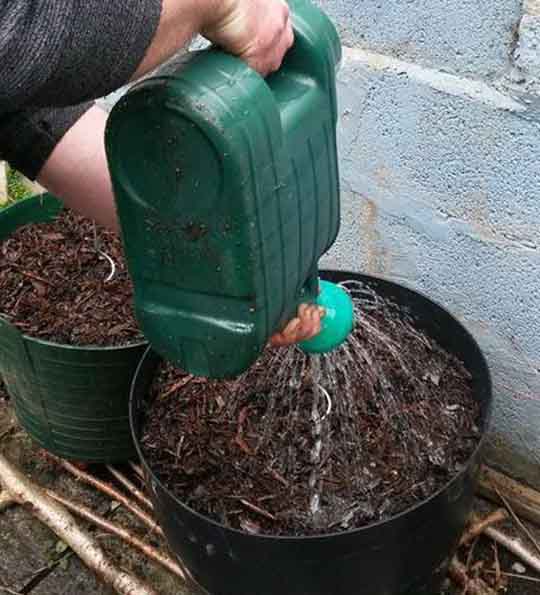
Hydration:
You want to keep the ground moist. Watering every couple of days will be sufficient unless the temperature is really hot.
If the plant is in a pot check it every day in summer - when the temperatures are in the mid-20s and the pots are in direct sunlight the rhizome can overheat, causing premature browning of the leaves and even a complete failure of the plant. In these conditions you will probably need to water both morning and evening.
Daily Growth:
In the first year if you are lucky, you can expect to see a daily growth rate of about an inch.
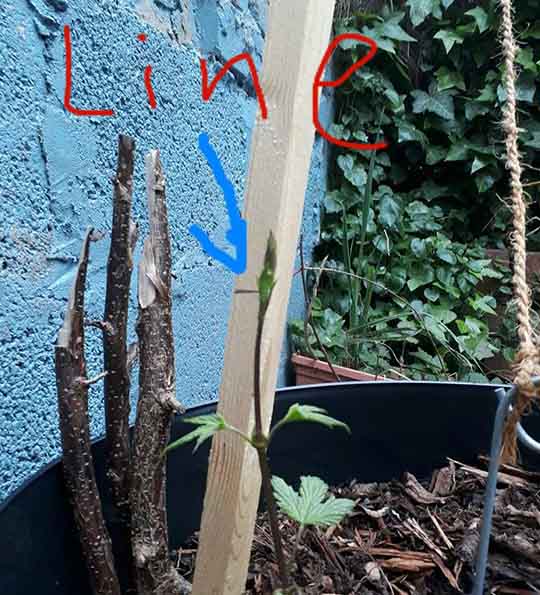
Climbing Structure & Maintenance:
Hop bines want to grow vertically, but can be trained to grow horizontally. For this, they require a fence, rope, wall, hedge or trellis to grow along
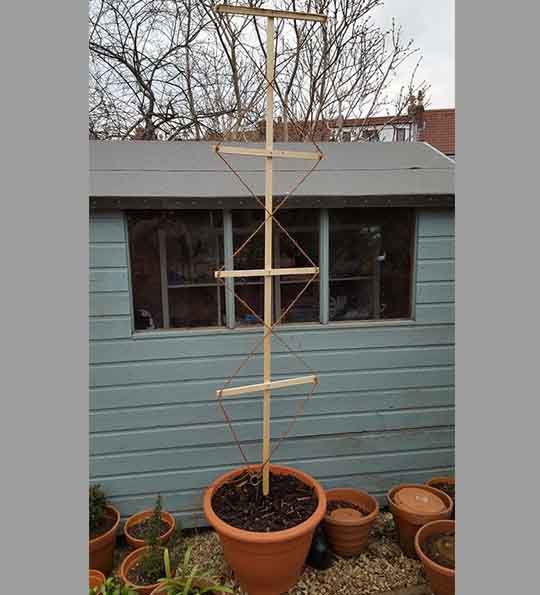
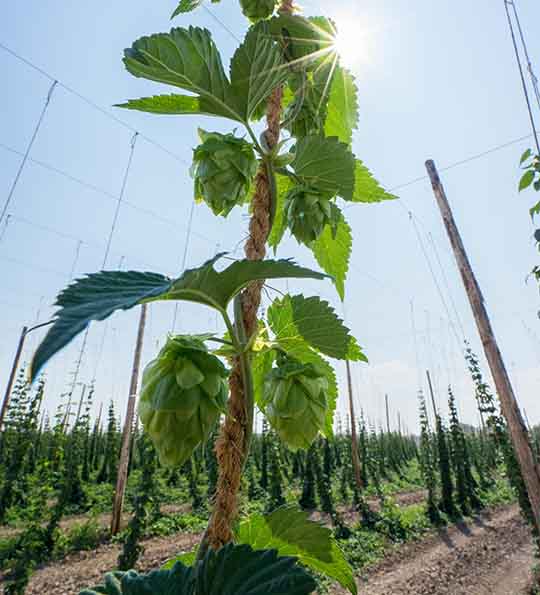
If using a rope, be aware that during the main flowering season the plants can get dense foliage and therefore can be susceptible to high winds, so using a thick rope or wire is preferable. The most traditional way is to use a coir rope (made from coconut husk). Try to avoid bailing style twine or nylon, as the bines tend to slip on these. If they do so they will fail to grow to their full potential.
Once the new season’s growth has started to emerge, select the 3-4 most healthy-looking shoots and trim off the rest to ground level. If they are still young you might consider cooking them up as a grower’s feast. Alternatively, young hop bine cuttings make great propagating material – try popping them in some gritty compost, leave the pot in the warm shade somewhere and see what happens!
Once the bines are long enough start to wrap them around the supports you’ve put in place. When the bines are over 2 to 3 foot, clear off at least a foot’s worth of the bottom leaves. This helps with ventilation and also cuts the chances of disease such as powdery mildew taking hold.
Pests and things to look out for:
Hops are a hardy bine, but they do have their Achilles' heels. Sometimes things don't go quite to plan. Pests and disease can take hold and it's hard to know what's going on. Here are a few of the most common ailments a hop plant can fall prey to.
Please Select the Pest or virus for more information.***
Harvest Time:
Harvesting is usually done around mid September. In the first year, the yield will generally be quite small, but it should increase year on year.
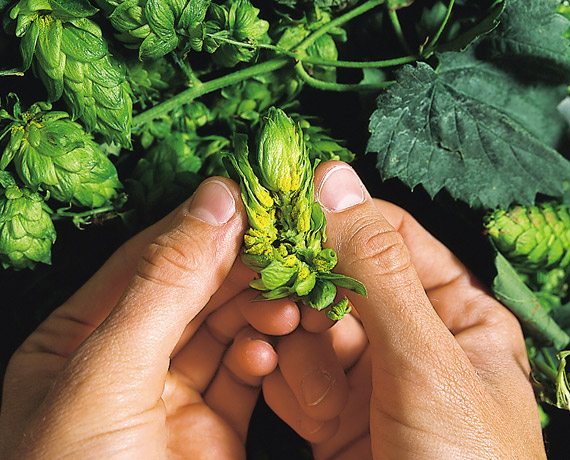
Hop cones are ready to harvest when they are dry/papery to the touch, spring back when squeezed, have a strong beer aroma and leave an oily residue on your fingers. When you think they’re ripe pick one and open it - it should be full of thick yellow-gold lupulin powder.
Hop cones may not mature evenly so it’s important to harvest those that are ready. Hops can easily be frozen and as our collaborative beer is made with green hops, there is no need to dry them first, just pick and freeze them until we call for the hops to be dropped off.
After harvest and when the leaves have started to brown and dieback, cut the bines off at just above ground level and cover with mulch. Adding some fertiliser such as manure or chicken poo pellets can work well now too.
** Please note, the HopsWiki and or Getting started section is intended as a guide/educational purpose
only, Bristol Hops Collective does not accept any responsibility or liability for the use of this guide and or its contents.
*** The images used in the pest section of this wiki are links from other sites Bristol Hops Collective
will not be held liable for the content contained on those third-party resources.
**** The responsibility for ensuring the safety of animals during the cultivation of hops lies solely with the individual
or grower. Bristol Hops Collective assumes no liability for any injuries to animals that may result.